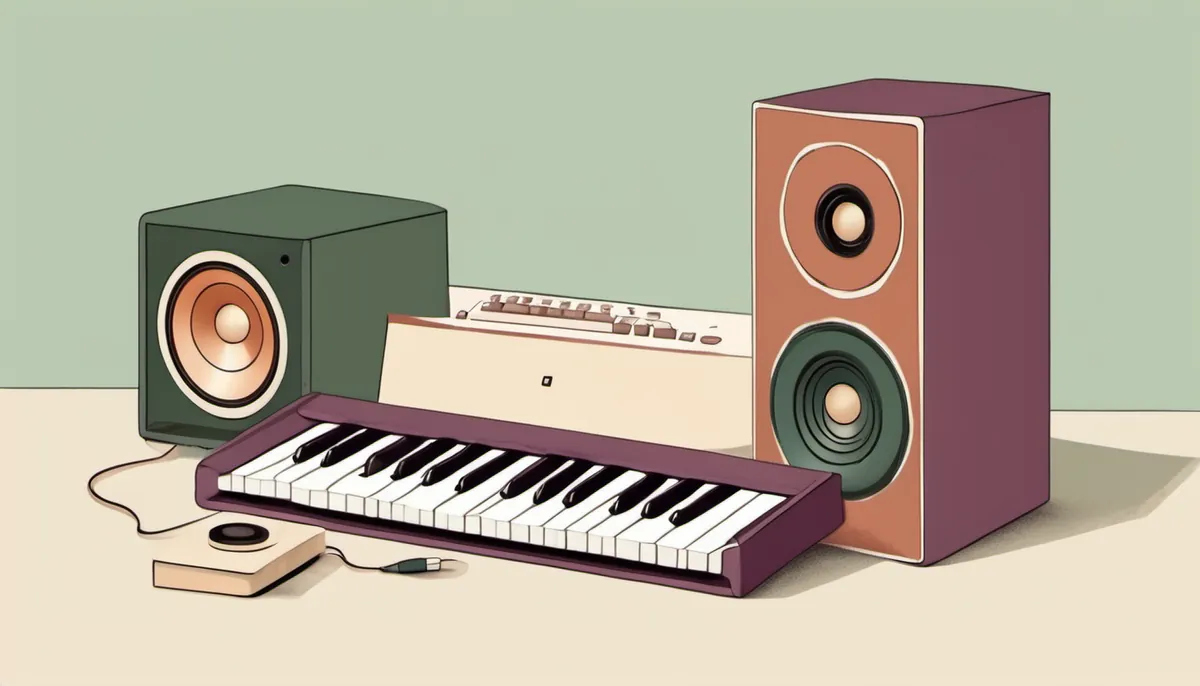
I built a music studio out of free software
What you will learn
- How a complete music studio now runs on a graphics card you may already own
- The four honest catches, including one about copyright and one about safety
- Why the thing writing the instructions matters more than the music software
You do not need a studio, a record label, or a monthly subscription to make music any more. The whole studio runs on a graphics card you probably already own, it costs nothing, and once it is installed it never touches the internet again.
I want to be precise about what that sentence means, because it is easy to read it as advertising.
It means the thing that writes original music runs on your desk. The thing that splits a finished track back into separate voices, drums and bass runs on your desk. The final polishing step, the one that makes a track sit at the same volume as commercial releases, runs on your desk.
No account. No uploading. No terms of service that quietly claim a share of what you made.
Why that matters more than it sounds
For most of recorded history, that chain was the gatekeeper. Not talent. Not ideas. Access to a room full of equipment nobody could afford alone.
Then it became software that cost more than the computer. Then it became a subscription, which is the same gate with a friendlier face and a cancel button that turns your back catalogue into a hostage.
The part that changed my mind
The music program I used is free and open. The clever part is not simply that it makes music. It is that it comes with a planner.
You give it a feeling in plain words, something like "a slow rainy synthwave instrumental with a heavy low end", and a language model inside writes the actual detailed description, the tempo, the key and the length for you.
The barrier to making music with these tools was never really the music. It was that you had to already know what to ask for.
A planner that turns one plain sentence into a full specification removes the last thing standing between having an idea and hearing it.
Then the chain continues, and it stays yours the whole way. One free tool pulls a finished track apart into its separate instruments, so you can mute the voice, keep the drums, or rebuild the bass. Another takes a track you love as a reference and matches yours to its volume and tone, which is the unglamorous step that separates something sounding like a demo from something sounding finished.
The honest catches
A guide that only tells you the good part is an advertisement, so here are four.
Quality varies, and it varies a lot. Some results are genuinely good. Some are mush. You are going to make several and keep one, which is exactly how studios have always worked, but it is worth knowing before you expect something wonderful on the first try.
The planner is only as good as the brain you give it. I ran that step through a small local model at first and the descriptions came out flat and generic, which produced flat and generic music. A stronger model wrote noticeably better descriptions and the output improved immediately. The bottleneck was never the music software. It was the thing writing its instructions.
The polishing step is not a mix engineer. It will make your track sit at commercial volume next to one you choose. It will not fix a bad arrangement, and it cannot tell you the tune is boring. Treat it as the last five percent, not the craft.
Copyright is real and it did not go away because the tool is free.
Making original music on your own machine is one thing. Feeding somebody else's recording in, or remixing their record and calling the result yours, is a different thing and it is on you. Own your originals. If you want to point people at music you love, link to it somewhere the artist gets paid rather than hosting it yourself.
The project behind this music model has publicly warned that fake sites are using its name. There is no paid version, no official app to buy, and no subscription.
If a site is asking you for money or for an account to use this, it is not them. Install from the project's own page and nowhere else. Every link below goes to an official source.
The lesson is the one this whole site keeps arriving at from different directions. The tools to make original work, and to actually own it, are free now and they run on hardware you already have.
The gatekeeper was the last thing standing between you and the studio, and it has quietly fallen over.
Every tool here is free and open, every link goes to the official project, and nothing in this chain sends your work anywhere. Install from these places and nowhere else.
1. Check the hardware you already have
What this does: confirms your machine can see its graphics card before you install anything.
What you need: the model's authors say it runs in under 4 gigabytes of graphics memory, so a modest card is enough to start. More memory mainly buys longer tracks and faster results.
Also budget disk space, because the model files are several gigabytes.
nvidia-smi2. Install the room everything runs in
What these do: fetch the host program, set up an isolated space for it, install what it needs, and start it.
What should happen: it starts serving on your own machine. Leave it running.
git clone https://github.com/Comfy-Org/ComfyUI
cd ComfyUI
python -m venv venv && source venv/bin/activate
pip install -r requirements.txt
python main.py
Official source: github.com/Comfy-Org/ComfyUI
3. Add the music model, and let it write the description for you
What these do: add the music pieces into the host program.
What should happen: restart the host afterwards so it notices them. The model files download by themselves the first time you use it, so the first attempt is slow and every one after it is not.
cd ComfyUI/custom_nodes
git clone https://github.com/ace-step/ACE-Step-ComfyUI
cd ACE-Step-ComfyUI
pip install -r requirements.txt
Now the part worth understanding. In the settings there is a switch that turns on the planner. Turn it on and you stop writing detailed descriptions altogether. You give it one line about the feeling you want, and it writes the rest itself. Leave a field blank and it fills that in too.
That single switch is the difference between operating a tool and describing an idea.
Official sources: the model and the pieces that run it
4. Split any track into its separate instruments
What these do: install the separation tool, then pull a finished track apart into voice, drums, bass and everything else. The second version only separates the voice, which is quicker.
What it is for: remixing what you made, rescuing one part you liked out of an attempt you did not, or isolating a voice so you can rebuild underneath it.
pip install -U demucs

demucs -n htdemucs mytrack.wav

# or just separate the voice, which is faster
demucs --two-stems=vocals mytrack.wav
Official source: github.com/facebookresearch/demucs
5. Polish it against a reference
What this does: takes two files, yours and one whose sound you want, and matches yours to its volume and tone.
How to choose a reference: something in the same style that is already finished well.
pip install matcheringimport matchering as mg
mg.process(
target="mytrack.wav",
reference="reference_i_like.wav",
results=[mg.pcm24("mastered.wav")],
)Check the sample rate of your reference. The process works around it, and a mismatch will change the length and the pitch of your result. Match them deliberately rather than assuming.
Look at the peak volume of the raw result before you polish it. Mine was running right at the ceiling on most attempts, and polishing a track that is already at the ceiling just gives you a louder version of the same problem.
Official source: github.com/sergree/matchering
6. Put a local model in charge
What these do: install a local language model and download one to use.
Its one job: turn a plain sentence into a shaped request, send it, wait, and hand you back a finished file.
This is the step that turns a pile of separate tools into a studio.
curl -fsSL https://ollama.com/install.sh | sh
ollama pull qwen2.5:14b
Official sources: ollama.com and github.com/ollama/ollama
What this outlines: the sequence, which you can build in whatever language you already use. A sentence goes in, a finished file comes out.
Two things I learned building it: give it a minimum length, or asked for something short it will happily produce a five second fragment that is not a piece of music. And do not make anything wait while it works, because it takes minutes and anything that freezes will look broken.
# 1. ask the local model to turn "rainy synthwave, heavy low end"
#    into a full description, plus tempo, key and length
# 2. put those values into the workflow
# 3. send it to the host program on your own machine
POST http://127.0.0.1:8188/prompt

# 4. check back until it has finished
GET  http://127.0.0.1:8188/history/<prompt_id>

# 5. read the filename from the result and hand over the file
7. Optionally teach it your own sound
The project documents how to train it further on a handful of your own songs, so it learns your style. Start with the official documentation rather than any third party guide, for the reason in the safety warning above.
8. Know where it lands
The end of all this is an ordinary audio file in a folder on your own disk. No export credits, no watermark, no account that can be closed, and no catalogue that disappears when a card expires.
You own the machine, the model, and the music.
Related: building your own AI agent is the same conductor idea applied to words, running your own assistant is where the local model habit starts, and the free software page tracks the open tools worth running yourself.
This page in the original Kyber Cypher voice: I made a music studio out of free software and AI.